Partner Article
How to Prepare a Wall for a Glass Splashback
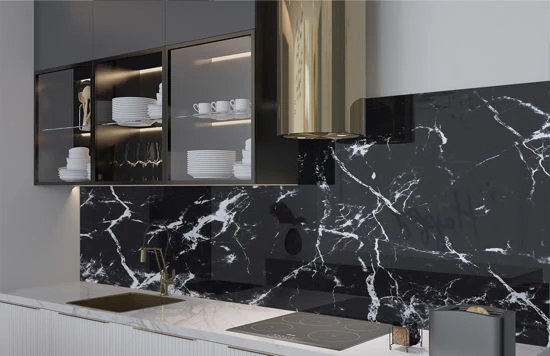
Glass splashbacks have become a popular choice for kitchens and bathrooms, not only for their sleek and modern appearance but also for their practicality. Before installing a glass splashback, proper wall preparation is essential to ensure a flawless and long-lasting installation. In this article, we’ll guide you through the steps to prepare a wall for a glass splashback, ensuring a beautiful and functional addition to your space.
Gather your tools and materials
Before starting, make sure you have the necessary tools and materials at hand. You will typically need:
- Safety goggles and gloves
- Screwdriver
- Paint scraper
- Sandpaper (various grits)
- Utility knife
- Spirit level
- Cleaning supplies (e.g., degreaser, glass cleaner)
- Measuring tape
- Pencil
Remove any existing splashback or wall covering
If your kitchen or bathroom already has an existing splashback or wall covering, it needs to be removed. Use a screwdriver to remove any screws or fasteners. A paint scraper or putty knife can help you carefully peel off any tiles or adhesive. Be cautious not to damage the wall surface in the process.
Inspect the wall for imperfections
After removing any existing coverings, thoroughly inspect the wall for imperfections such as cracks, holes, or uneven surfaces. Fill any holes or cracks with an appropriate filler, and smooth it out with a putty knife. Sand the filled areas once the filler has dried to create a smooth, even surface.
Clean and degrease the wall
Glass splashbacks should be installed on a clean, grease-free surface. Clean the wall thoroughly using a degreaser or a mixture of water and mild dish soap. Make sure to remove any traces of dirt, grime, and kitchen oils that may have accumulated over time. Rinse the wall and allow it to dry completely.
Measure and mark the placement
Using measuring tape and a pencil, carefully measure and mark the area where you intend to install the glass splashback. Ensure that your measurements are accurate, and use a spirit level to draw straight, level lines for guidance.
Sand the wall surface
To help the adhesive bond better with the wall, lightly sand the marked area. This step is particularly important if the wall is painted, as it creates a rougher surface for better adhesion. Start with coarse-grit sandpaper and gradually move to finer grits for a smoother finish.
Test Fit the Glass Splashback
Before applying adhesive, perform a test fit of the glass splashback to ensure it fits perfectly and aligns with your marks. This step helps you identify any potential issues or adjustments needed before the final installation.
Apply the adhesive
Follow the manufacturer’s instructions to apply the adhesive to the sanded area of the wall. Ensure that the adhesive is evenly distributed and covers the entire installation area. Use a trowel or a notched adhesive spreader for an even application.
Install the glass splashback
Carefully position the glass splashback onto the adhesive, aligning it with your marks. Apply gentle pressure to ensure proper adhesion and remove any air bubbles. Use spacers at the bottom to maintain a uniform gap for sealing purposes.
Seal the edges
Finally, seal the edges of the glass splashback with a suitable silicone sealant. This not only provides a watertight seal but also gives the installation a clean and finished appearance.
In Conclusion
Properly preparing the wall for a glass splashback is essential for a successful installation. By following these steps and taking your time to ensure a clean, smooth, and level surface, you can enjoy the beauty and practicality of a glass splashback in your bathroom or kitchen for years to come. Whether you’re a seasoned DIY enthusiast or a first-time installer, meticulous wall preparation is the key to a stunning and functional glass splashback.
This was posted in Bdaily's Members' News section by Weblinx .
Our Partners


 There is no perfect time when selling a business
 What next when social media career help goes?
 The psychological contract that nobody signs
 Time for strategy built on the foundational economy
 Why being ‘work-ready’ matters more than ever
 The North's future doesn't end at Manchester
 Exit or legacy? Why every owner needs a plan
 Who speaks up for SMEs when giants get bigger?
 The true value of HR in an AI-driven working world
 What new business rates guidance means for pubs
 Business success starts with people investment
 It's time to confront the digital poverty crisis